 Ferndale Siding
 Building New in Marietta? Get the Windows Right the First Time
Marietta sits close enough to Bellingham Bay and the Nooksack delta that its building envelope has to deal with things a lot of inland Whatcom County framing crews never think twice about: salt-laden air moving in off the water, wind-driven rain that hits walls sideways instead of straight down, and a wet season that runs long enough to grow moss on anything that stays damp too long. When you're framing a new home or a major addition out here, the windows aren't just a finish item you pick from a catalog at the end of the job. They're part of the water-management system for the whole structure, and if they go in wrong, you won't find out until the drywall's painted and the first hard nor'wester rolls through.
We install new-construction windows for builders and homeowners in the Marietta area as part of our regular Ferndale-area siding and exterior work. This page covers what that actually involves — the window types that hold up out here, how the installation has to be sequenced with the wall assembly, and what separates a window that's still performing in twenty years from one that's already leaking by year five.
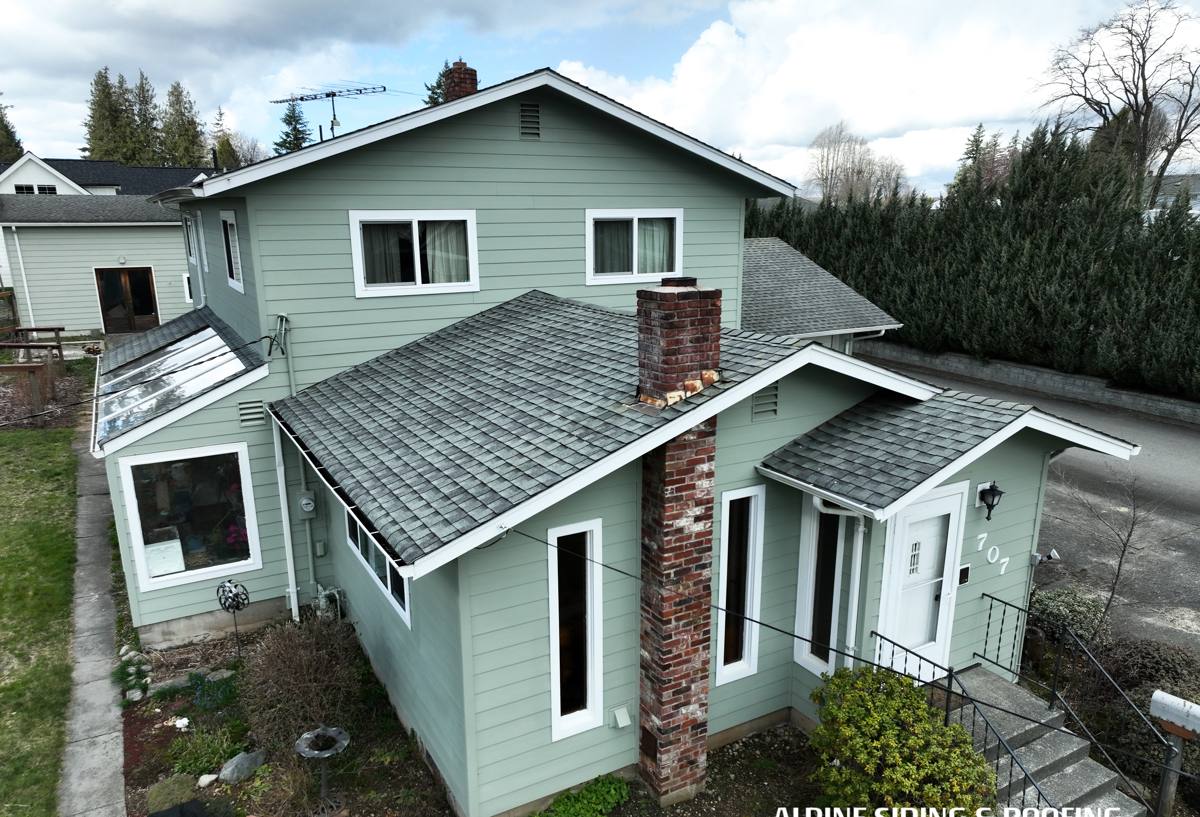
Why Marietta's Climate Changes the Window Install
New-construction window installation is fundamentally different from a retrofit or replacement job, because you're setting the window into an open wall before the siding, house wrap, and flashing are finished. That's an advantage — you get to build the water management system around the window correctly from the start — but it also means every detail has to be right, because there's no existing siding to hide a shortcut.
What the coastal exposure actually does
- Salt air accelerates corrosion on exposed fasteners, uncoated hardware, and lower-grade aluminum or vinyl components. Cheap balance systems and hinges wear out faster this close to the water.
- Driving rain off Bellingham Bay doesn't fall straight — it gets pushed sideways into wall assemblies during winter storms, which means flashing details that would be fine in a drier inland climate aren't enough here.
- Long moss season means anything that stays damp — sills, head flashing, poorly ventilated rough openings — grows moss and biofilm, which holds moisture against wood and finishes even longer. That's a slow rot problem more than a dramatic leak, and it's the kind of thing that shows up as soft trim five or six years down the road.
None of this means Marietta needs exotic materials. It means standard details — head flashing, sill pans, proper WRB integration — have to actually be done, not skipped because "it probably won't leak."
What a Correct New-Construction Window Install Involves
Sequencing with the wall assembly
New-construction windows are typically installed with a nailing fin that gets integrated into the weather-resistant barrier (WRB) — house wrap or a fluid-applied membrane — before siding goes on. The order matters:
- Rough opening is framed, checked for square and correct dimensions.
- Sill pan flashing goes in first — this is the single most important step for a coastal build, because it gives any water that does get past the window a way out instead of a place to pool.
- Window is set, shimmed level and plumb, and fastened per the manufacturer's schedule — not just "a few screws that feel snug."
- Nailing fin is integrated with the WRB using a shingle-lap sequence: sides first, then head flashing lapped over the top so water sheds down and out, never sideways into a seam.
- Interior air sealing (low-expansion foam or backer rod and sealant, never gap-filling with standard spray foam that can bow the frame).
Skipping or reversing any step in that sequence is how you get the leaks that don't show up for a few years — which is exactly the kind of failure that's expensive to trace and expensive to fix once siding and drywall are finished.
Window selection for this exposure
We steer new-construction clients in the Marietta area toward window packages that hold up to salt air and sustained moisture rather than whatever's cheapest per unit. That generally means:
- Fiberglass or vinyl frames with corrosion-resistant hardware — stainless or coated fasteners and hinges, not bare steel.
- Dual-pane, low-E glazing as the baseline; it's standard in this climate and pays for itself in comfort and condensation control.
- Quality weatherstripping and balance systems — the parts that wear out fastest near salt air are exactly the moving parts, so we don't cut corners there.
- Proper drainage design in the sill — every window should have a way to shed water that gets past the outer seal, not just rely on caulk staying perfect forever.
We're not going to tell you a specific brand is bad — most major window lines make a serviceable product. Where we draw a hard line is on installation practices: any window, however good, will underperform if the flashing sequence is wrong. We'd rather install a solid mid-tier window correctly than a premium window installed carelessly.
Comparing Window Approaches for New Construction
| Factor | Standard Approach | What We Do in Marietta |
|---|---|---|
| Sill flashing | Caulk bead only | Sill pan flashing plus back dam, so water has somewhere to go |
| Head flashing | Nailing fin taped flat | Shingle-lapped flashing that sheds water outward, sized for driving rain |
| Fasteners/hardware | Standard coated steel | Corrosion-resistant hardware suited to salt-air exposure |
| Interior sealing | Standard expanding foam | Low-expansion foam or backer rod/sealant to avoid frame distortion |
| WRB integration | Taped over generally | Full shingle-lap sequence tied into the whole wall's drainage plane |
Our Process for New-Construction Window Jobs
1. Plan review and coordination
For new builds, we work off the architectural plans and coordinate timing with the general contractor or homeowner-builder. Windows need to go in at the right point in the framing and WRB sequence — too early and you're working around incomplete wall prep, too late and you're holding up siding.
2. Rough opening verification
We check every rough opening for square, level, and correct sizing before a window goes anywhere near it. A frame that's slightly out of square will bind the sash and stress the seals over time — better to catch that before install than after.
3. Flashing and installation
Sill pan, window set, WRB integration, head flashing — done in the sequence described above, on every opening, not just the ones facing the weather. Wind off the bay doesn't always come from the same direction.
4. Final check and documentation
Once windows are in, we verify operation (smooth open/close, proper latching), check that flashing laps are correct, and confirm the rough opening perimeter is fully sealed before siding crews close the wall up.
Pre-Siding Checklist for New-Construction Windows
- Rough openings framed square and to correct dimensions
- Sill pan flashing installed with a back dam, before the window goes in
- Window shimmed level and plumb, fastened per manufacturer spec
- Nailing fin integrated with WRB in proper shingle-lap order (sides, then head)
- Head flashing sized and sloped to shed water outward
- Interior gaps sealed with low-expansion foam or backer rod/sealant
- Hardware and fasteners rated for coastal/salt-air exposure
- Sash operation and latching checked before siding closes the wall
What Happens When This Gets Skipped
The problems from a rushed new-construction window install rarely show up on move-in day. They show up two, five, or ten years later — as a soft spot in drywall below a window, a musty smell in a closet on an exterior wall, or moss creeping up a stucco or siding seam that's been staying wet longer than it should. In Whatcom County's long wet season, moisture problems compound quietly behind finished walls before anyone notices. Getting the flashing sequence right during framing is dramatically cheaper than opening up a finished wall to fix it later — that's the whole case for doing it correctly the first time, and it's the reason we treat window installation as part of the building envelope, not a standalone punch-list item.
Why Hire a Crew That Already Works in Marietta
Coastal Whatcom County construction isn't identical to building inland, even a few miles away. Crews that mostly work drier, more sheltered sites can do fine work and still under-detail a job here simply because the failure modes are different — driving rain, salt exposure, and a moss season long enough to matter aren't things every builder plans around by habit. We work new-construction and remodel siding and window jobs in Ferndale, Marietta, and the surrounding Whatcom County coastline regularly, so the flashing and sequencing details above aren't extra steps we bolt on for a coastal job — they're just how we build here.
If you're framing a new home or addition in Marietta and want windows installed as part of a wall assembly that's actually built to handle salt air, driving rain, and a long wet season, we're happy to walk the plans with you and give you a straightforward, no-pressure estimate using the form below.