 Ferndale Siding
 New-Construction Windows for Sumas-Area Builds
When we say "new-construction windows," we mean something specific: windows installed into open, unfinished framing before the siding, house wrap details, and interior finishes are closed up around them. That's a different job than swapping an old window out of a finished wall. For homeowners and builders in and around Sumas working on a ground-up home, an addition, or a shop conversion, getting this stage right the first time matters more than almost any other step in the building envelope — because once the siding goes on, the flashing underneath it is nearly impossible to inspect or fix without tearing something back open.
We're a Ferndale-based crew that works new-construction window openings throughout Whatcom County, including projects out toward Sumas. We're not a big-box install team that shows up once and disappears. We coordinate with framers and general contractors on timing, we know what our local building inspectors want to see at the rough-in stage, and we build every opening assuming this house has to survive decades of Pacific Northwest weather, not just pass inspection on install day.
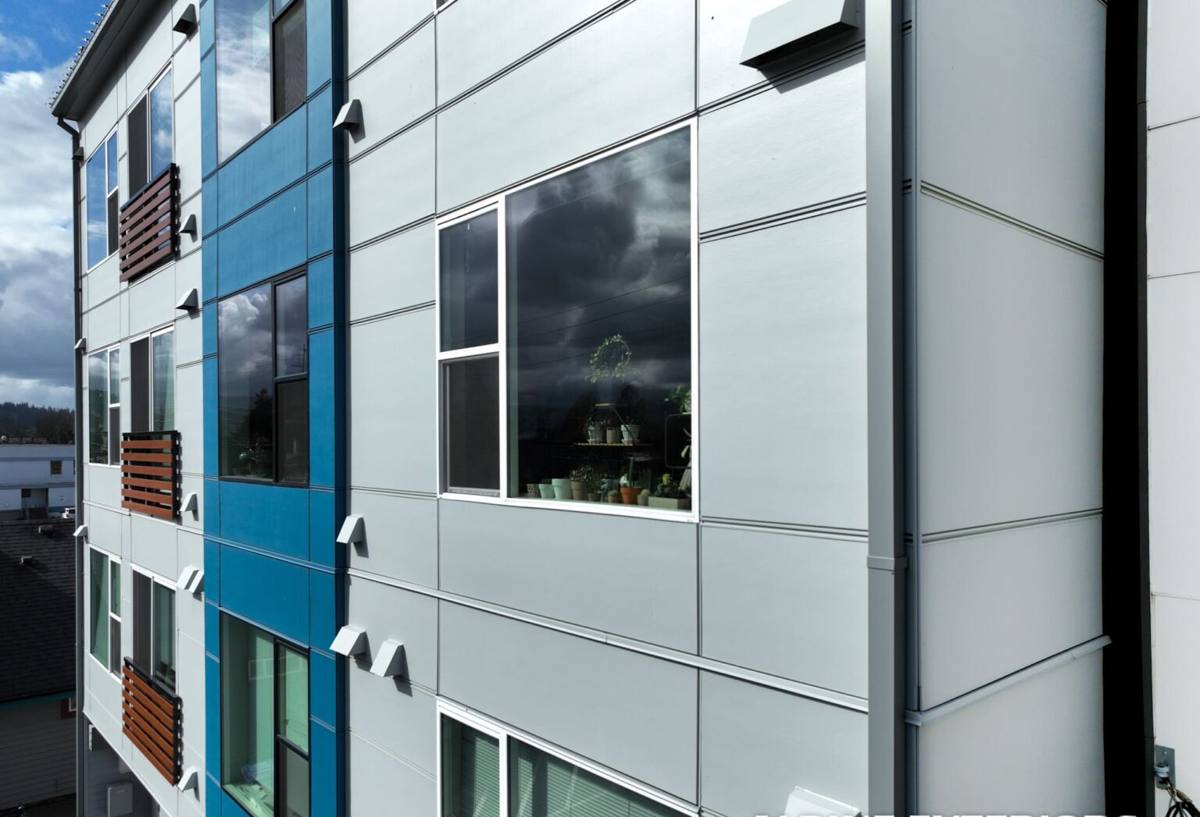
Why the Local Climate Changes How We Build the Opening
Whatcom County sits close enough to the Strait of Georgia and Puget Sound that salt-laden air is a real factor for fasteners, flashing metals, and exposed hardware — even a few miles inland. Add to that the long stretch of driving rain that runs from fall through spring, and a moss and algae season that can linger on north- and west-facing walls for months, and you get a climate that's genuinely harder on a window opening than most of the country ever has to deal with.
New construction gives us an advantage here that a retrofit never can: we get to control the water path from bare sheathing outward, before anything is covered up. That's the whole point of doing it right at this stage — every layer, from the sill pan to the final bead of sealant, gets installed in the correct order so that any water that reaches the opening is shed back out and away from the wood framing, not trapped behind it.
What "Driving Rain" Actually Does to a Bad Install
Wind-driven rain doesn't just fall — it gets pushed sideways and upward under wind pressure, which means it can find its way behind trim, under improperly lapped house wrap, or through fastener holes that weren't sealed. A window that would be fine in a drier, calmer climate can still fail here within a few years if the flashing sequence was skipped or done out of order. This is the single biggest reason we don't treat window installation as a quick add-on to the siding crew's scope — it deserves its own attention to detail.
What a Correct New-Construction Window Install Involves
There's a specific order of operations that keeps water moving out of a wall assembly instead of into it. Skipping or reordering any of these steps is where most leaks that show up years later actually start.
Sill Pan Flashing First
Before the window ever goes into the opening, the rough sill gets a sloped, sealed pan flashing — essentially a shallow pan that directs any water that gets past the window back outside the wall rather than letting it pool on bare wood. This is the step we see skipped most often on cheaper builds, and it's the one that causes the most damage when it's missing.
Weather-Resistive Barrier (WRB) Integration
The house wrap or building paper around the opening has to be cut, folded, and lapped in a specific sequence — sides first, then the head — so that every layer above sheds water onto the layer below it, like shingles. Done backward, the WRB can actually funnel water toward the window instead of away from it.
Setting the Window and Fastening the Nail Fin
Most new-construction windows use a nail fin (also called a flange) that gets fastened directly to the sheathing through the WRB. We shim the unit level, plumb, and square before fastening, and check the reveal is even all the way around — a window that's slightly racked in the opening will bind, leak at the corners, or wear its weatherstripping unevenly for the life of the house.
Head Flashing and Final Lap
A separate flashing strip goes over the top of the nail fin, then the WRB above it gets folded back down over that flashing — completing the shingle-lap so water draining down the wall face is directed over the window, not into the seam above it.
Sealant as Backup, Not the Primary Defense
We use sealant at specific joints, but a correctly flashed window doesn't depend on caulk to stay dry. Sealant degrades over time; mechanical flashing doesn't. Any install that relies mainly on a bead of caulk to keep water out is one we'd flag as a problem, no matter who installed it.
Choosing a Frame Material for This Climate
New construction is also the best time to think carefully about frame material, since it's far cheaper to choose right the first time than to replace an underperforming window in a finished wall later. There's no single correct answer for every project — it comes down to budget, exposure, and how much long-term maintenance the homeowner wants to take on.
| Frame Material | Moisture & Salt-Air Behavior | Maintenance | Typical Cost Position |
|---|---|---|---|
| Vinyl | Doesn't corrode or rot; performs well in coastal air | Low — occasional cleaning | Lower to mid |
| Fiberglass | Very stable, low expansion/contraction, strong moisture and salt resistance | Low | Mid to higher |
| Wood-clad | Good if cladding and flashing details are done correctly; exposed wood interior needs protection from interior humidity | Moderate to higher — finish upkeep matters | Higher |
| Aluminum | Prone to condensation and slower to insulate unless thermally broken; can be sensitive to salt exposure over time | Moderate | Mid |
For most Sumas-area new builds, we steer homeowners toward vinyl or fiberglass unless there's a specific design reason to go with wood-clad. Both hold up well against the salt air and repeated wet-dry cycling this area sees, and neither requires the ongoing finish maintenance that a moss-prone, shaded elevation can be brutal on.
Our Process on a New-Construction Project
We work directly with the general contractor or framer on scheduling, since window install timing matters — go too early and the rough opening isn't ready; go too late and it holds up siding and interior trim crews behind us.
Framing-Stage Site Visit
Before install day, we walk the rough openings while the sheathing and WRB are still exposed. We check that openings are square, sized correctly to the window schedule, and that there's no framing issue that needs to be corrected before we can flash and set units properly.
Install and Documentation
We flash, set, and fasten each window following the sequence above, and we photograph the flashing layers before they get covered by siding — so there's a record of what's behind the wall if it's ever needed for warranty or inspection purposes down the road.
Final Walk-Through
Once siding and trim are complete, we do a final check on operation, weatherstripping contact, and reveal consistency on every unit before we consider the job finished.
Common Mistakes We Catch Before They Become Leaks
- Sill pan flashing skipped or improvised with sealant alone instead of a formed pan
- House wrap lapped in the wrong order around the opening, directing water inward instead of out
- Head flashing installed but not lapped correctly under the upper WRB course
- Windows fastened out of square, causing binding or uneven weatherstripping wear
- Reliance on caulk as the primary water barrier instead of mechanical flashing
- Openings framed slightly undersized or oversized relative to the actual window unit, forcing shims and gaps to compensate
Glass and Energy Performance for This Region
Whatcom County's climate isn't extreme cold, but it is consistently damp and overcast for much of the year, which makes low-E, argon-filled dual-pane glass a sensible baseline for most new builds here — it cuts heat loss and reduces interior condensation risk on cold, wet mornings. Triple-pane is worth discussing for north-facing rooms or homes prioritizing energy performance, but it's a cost-and-benefit conversation, not an automatic upgrade for every project. We'll walk through the glass package options relative to your build's orientation and budget rather than defaulting to the most expensive spec.
Why Hiring a Crew That Already Works This Area Matters
A window installer who mostly works drier inland climates can do everything "by the book" and still get the flashing sequence wrong for a coastal, high-rainfall area like Whatcom County — because the book they learned from didn't account for driving rain and near-constant moisture load. Working new-construction windows around Ferndale and out toward Sumas regularly means we're not guessing at how much water pressure a wall assembly here actually has to handle, or how fast moss and algae take hold on a shaded, damp elevation. That local repetition is what keeps small details — the ones that don't show up as problems for a few years — from getting skipped.
What to Expect: Timeline and Coordination
Most new-construction window packages install over one to a few days depending on the number of openings and site access, once the rough openings are framed and ready. We build this into the broader construction schedule alongside the framer and siding crew so there's no dead time waiting on us, and no rushed install that skips a flashing step to keep pace with everyone else on site.
If you're planning a new build, addition, or shop conversion in the Sumas area and want new-construction windows installed correctly from the framing stage forward, we're happy to take a look at your plans and walk the site. Reach out for a free, no-pressure estimate using the form below.