 Ferndale Siding
 Window Installation Built for the Nooksack Area's Climate
Homes in the Nooksack area, just outside Ferndale in Whatcom County, take a different kind of weather beating than homes twenty miles inland. You're close enough to Bellingham Bay and the Strait of Georgia to get salt-laden air working on every exposed metal surface, and far enough into the lowland river valley to catch long stretches of driving, wind-pushed rain off the Nooksack River corridor. Add in a moss season that can run from October through May in a wet year, and you've got a set of conditions that will find every weakness in a window installation within a few years, not a few decades.
This isn't a generic "we install windows" page. It's specifically about doing window installation correctly for this part of Whatcom County — what the climate demands, what a correct install actually involves, and why the crew doing the work matters as much as the window brand you pick.
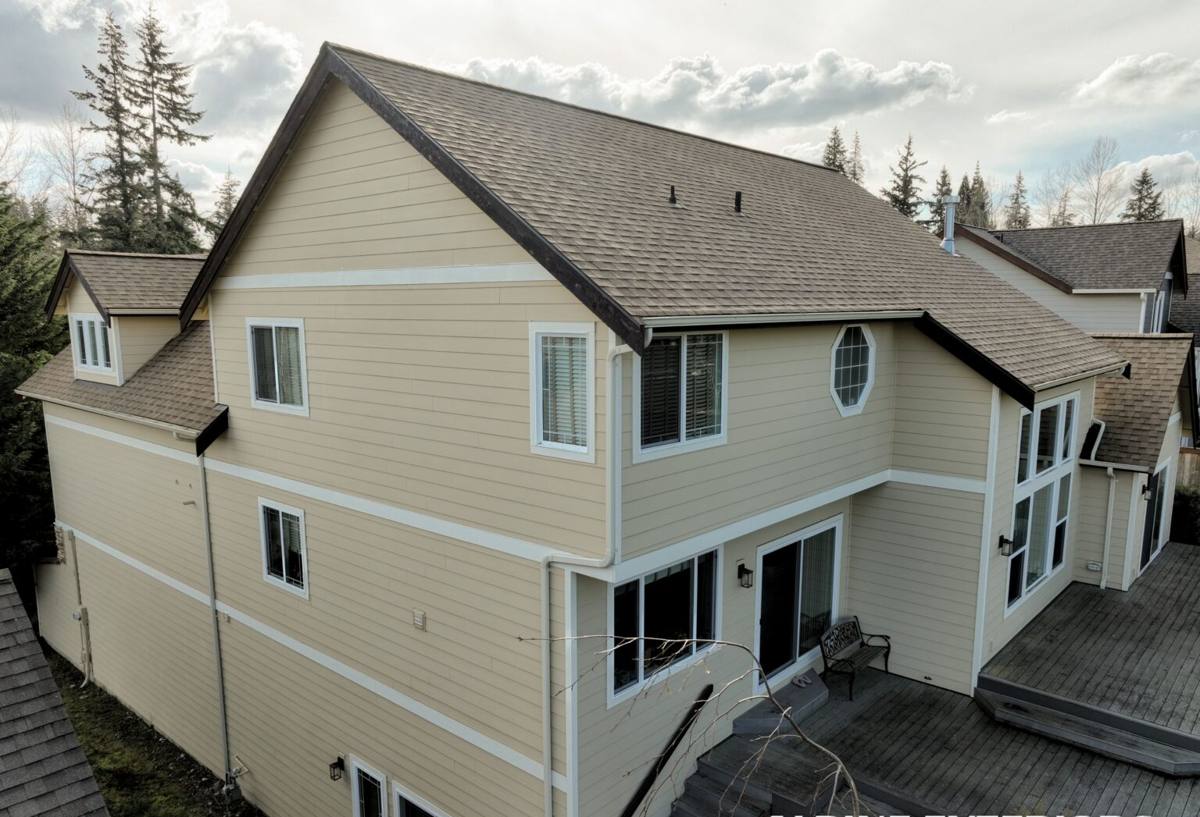
What Salt Air, Rain, and Moss Actually Do to a Window Install
Salt Air
Marine air carries fine salt particles that settle on window hardware, fasteners, and metal flashing. Over time this accelerates corrosion on lower-grade hardware and can pit unprotected fasteners long before the window sash itself wears out. It's rarely dramatic — it shows up as stiff locks, streaking stains below hinges, or corrosion you only notice when a window stops closing smoothly.
Driving Rain
Wind-driven rain doesn't just fall straight down — it gets pushed sideways and upward under laps, trim, and poorly sealed nailing flanges. A window that would be fine in a calm-rain climate can leak here if the flashing detail behind the trim isn't built to shed water that's moving sideways, not just down.
Moss and Prolonged Moisture
A long wet season means wood trim, sills, and any exposed cladding around a window stay damp longer between dry spells. That prolonged dampness is exactly what moss, mildew, and slow wood rot need. Around windows specifically, this shows up first at the sill and lower corners — the parts of the opening that hold water longest.
Signs a Window Needs Replacing, Not Just Recaulking
- Fogging or a permanent haze between the panes of a double-pane unit (the seal has failed and can't be fixed with caulk)
- Soft or spongy wood at the sill or lower corners when you press on it
- Visible daylight or a draft at the frame edge even when the window is latched
- Paint that bubbles or peels repeatedly at the same spot each year, regardless of how often it's repainted
- Difficulty opening, closing, or locking that's gotten worse over one or two seasons
- Water staining on interior drywall or trim below or beside the window
Any one of these on its own might be a minor repair. Two or more together, especially on the same window, usually means the frame or flashing has already let water in and a replacement — done with correct flashing — is the more honest fix than another round of caulk.
Retrofit vs. Full-Frame Installation
One of the first real decisions on a window project is whether to do a retrofit (pocket) install, which reuses the existing frame, or a full-frame install, which removes the old frame down to the rough opening and replaces the flashing along with the window. Both are legitimate methods — the right one depends on the condition of what's already there.
| Factor | Retrofit (Pocket) Install | Full-Frame Install |
|---|---|---|
| When it's appropriate | Existing frame is square, solid, and dry | Frame shows rot, past leaks, or was never flashed correctly |
| Labor and disruption | Lower — faster, less exterior trim disturbed | Higher — trim and flashing rebuilt from the sheathing out |
| Water management | Depends entirely on the condition of existing flashing | New flashing pan and integration with house wrap/siding |
| Best fit for this climate | Sheltered walls, sound original construction | Weather-exposed walls, any sign of past moisture intrusion |
| Long-term risk if condition is misjudged | Hidden rot gets sealed in, not fixed | Low, since everything is inspected and rebuilt |
We won't default to the cheaper option just because it's cheaper. On a wall that's caught years of driving rain, a retrofit over a compromised frame just seals a problem behind new trim. We open it up and look before recommending either method.
Frame Material: What Holds Up Here
| Material | Salt air / moisture behavior | Maintenance | Trade-offs |
|---|---|---|---|
| Vinyl | Won't corrode or rot; performs consistently in marine air | Low — occasional cleaning | Limited color/finish options versus wood or fiberglass |
| Fiberglass | Very stable in temperature swings and moisture; strong long-term option | Low | Higher upfront cost than vinyl |
| Wood / Wood-clad | Attractive but needs a sound exterior clad or consistent paint upkeep to resist this climate | Highest — regular inspection and refinishing | Best suited to homeowners committed to upkeep, or fully clad exteriors |
| Aluminum | Prone to condensation and corrosion in salt air without thermal breaks | Moderate | We generally steer clients away from bare aluminum frames on exposed walls here — not because it's a bad product everywhere, but because uninsulated aluminum performs poorly against this specific combination of salt air and condensation-prone winters |
We don't push one brand or material on every job. We size the recommendation to the wall's sun and rain exposure, the home's existing trim style, and what the homeowner is realistically willing to maintain.
The Flashing Detail That Actually Determines Whether a Window Leaks
Most window failures aren't the window's fault — they're a flashing and sequencing failure. Water has to be directed out and down at every layer: sill pan first, then side flashing lapped over the pan, then the window's nailing flange, then house wrap lapped over the flange, then trim. Skip or reverse any layer and driving rain will eventually find the gap, especially on walls that take direct weather.
Because we're a siding contractor first, this is where local window installation work benefits from crews that think about water management holistically rather than treating the window as an isolated box to drop into a hole. The window opening has to integrate correctly with whatever siding or cladding surrounds it — the flashing sequence at that joint is exactly the kind of detail that gets rushed by installers who only ever handle the window itself and hand off trim work to someone else.
Our Installation Process
- On-site assessment — we inspect the existing frame, sill, and surrounding siding for rot, past leaks, or settling before recommending retrofit or full-frame replacement.
- Removal — old sash and, if full-frame, the old frame come out; we check the rough opening and sheathing underneath for hidden damage.
- Sill pan and flashing — a sloped sill pan and properly lapped flashing go in before the new window, sized to shed water outward even under wind-driven rain.
- Window set and shim — the unit is leveled, plumbed, and squared, then shimmed at load points so it operates smoothly for years, not just on install day.
- Insulation and air sealing — gaps around the frame are sealed and insulated without over-packing, which can bow the frame.
- Exterior trim and siding tie-in — trim and siding are integrated back around the window with correct laps, so the whole wall assembly sheds water as one system.
- Interior finish and final check — interior trim is finished, and every window is opened, closed, and locked to confirm smooth operation before we call the job done.
What a Correct Installation Should Include
- A sill pan or equivalent sloped drainage detail, not just caulk at the bottom of the frame
- Flashing lapped in the correct order — sill, sides, top, integrated with house wrap
- Corrosion-resistant fasteners appropriate for a marine-air environment
- Proper shimming so the window isn't relying on fasteners alone to stay square
- Air sealing around the frame that doesn't restrict the window's ability to expand and contract with temperature
- Exterior trim and siding reinstalled to shed water away from the new window, not toward it
- A final operational check — every window opens, closes, and locks properly before the crew leaves
Why a Crew That Already Works the Nooksack Area Matters
Window installation done wrong doesn't usually fail on day one — it fails in year three or four, after a few wet winters have had time to find the gap. A crew that regularly works Ferndale and the surrounding Nooksack area has already seen which walls take the worst of the wind-driven rain, which older homes tend to have flashing that was never done right the first time, and how long moss season actually runs in a given year — not textbook knowledge, but the kind you get from doing the work here repeatedly.
Because we handle siding as our core trade, window installation isn't a bolt-on service for us — it's part of the same water-management thinking we apply to an entire exterior wall. That matters more in Whatcom County's climate than in a drier region, where a window can get away with a less careful install for a lot longer before problems show up.
Timing the Work Around Local Weather
Window installation can be done in most conditions, but sealants and flashing tapes perform best when installed within their rated temperature and moisture ranges. We plan job scheduling around drier weather windows where possible, and we won't install flashing components in conditions that would compromise their bond — a shortcut that tends to show up later as exactly the kind of leak this climate is quick to expose.
If you're weighing whether a window needs replacing, or want a straight answer on retrofit versus full-frame for your home, we're glad to take a look. Request a free, no-pressure estimate using the form below — no obligation, just an honest read on what your windows actually need.