 Ferndale Siding
 New Construction Is a Different Job Than Window Replacement
When people call us about "new windows," they're often picturing a replacement job — popping an old sash out of an existing frame and dropping a new one in. New-construction window installation is a different trade skill entirely. There is no old frame to work around and no existing flashing to patch into. Instead, we're setting windows directly into a framed rough opening before or during siding, which means we control every layer of the water management system from the sheathing out. Done right, that's an advantage — we build the drainage plane around the window instead of fighting an existing one. Done wrong, it's the single most common source of the rot and interior water stains we get called out to fix on homes that are only five or ten years old.
For a home going up in Custer, that first install is the only chance to get it right. There's no siding to remove and redo later without real cost — the flashing details either work with this area's weather or they don't.
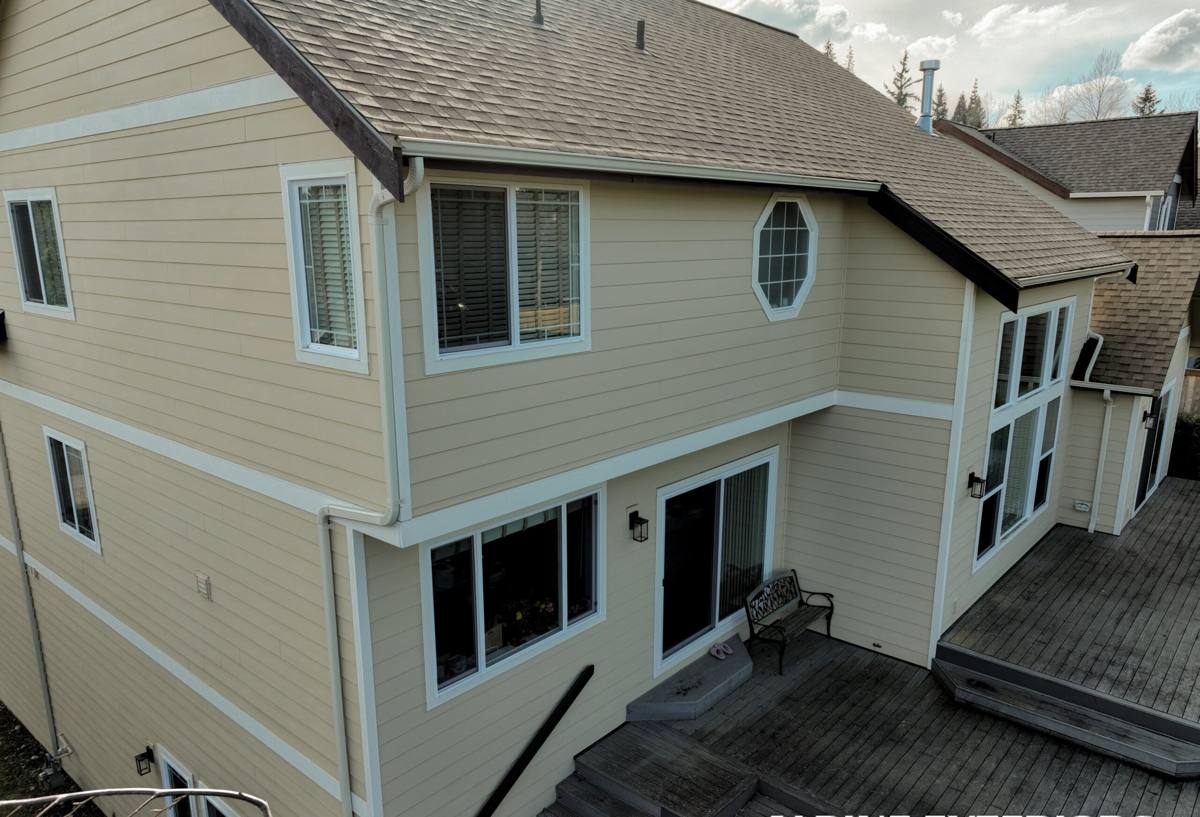
What Custer's Weather Actually Does to a Window Opening
Custer sits in the part of Whatcom County that takes weather from two directions — inland rain systems off the Puget Sound lowlands, and marine air pushing in off the Strait of Georgia and the bays to the west. That combination shows up in three ways that matter directly to how a window gets installed.
Salt Air
Homes in and around Custer get enough marine influence that salt-laden moisture in the air is a real factor, not a coastal-town myth. Salt air accelerates corrosion on unprotected fasteners, degrades some sealants faster than their rated service life, and speeds up finish wear on certain metal flashing and trim. It doesn't mean every material fails — it means material choice and fastener selection have to account for it up front, rather than being an afterthought.
Driving Rain
Whatcom County storms regularly come in sideways rather than straight down. Wind-driven rain finds any gap in a window's flashing and pushes water uphill against gravity, into places a "dry climate" installation would never test. This is why sill pan flashing and proper shingle-lap sequencing with the housewrap aren't optional extras here — they're the difference between a window that sheds water and one that quietly wicks it into the wall cavity during every fall and winter storm.
A Long Moss Season
Western Whatcom County stays damp for a long stretch of the year, and that dampness feeds moss and algae on north-facing and shaded elevations for months at a time. Around windows, that translates into sustained moisture sitting against sills, trim, and caulk joints longer than in drier climates. Materials and details that tolerate occasional wetting can still fail under constant, low-grade dampness — which is the real test in this area.
The Details That Decide Whether a Window Leaks in Year Three
Most window leaks we're asked to diagnose don't come from a bad window unit. They come from a handful of installation details that were skipped or rushed. On a new build, these are the ones we treat as non-negotiable:
- Sill pan flashing — a sloped, sealed pan under the window that catches any water that gets past the sash and directs it back outside, rather than into the framing.
- Proper shingle-lap sequencing — housewrap, flashing tape, and window flanges layered so each course sheds water onto the one below it, never trapping water behind a layer.
- Head flashing with a drip cap — kicks water away from the top of the window instead of letting it run down the face of the frame and into the joint below.
- Correct fastening pattern — nailing fins fastened per the manufacturer's schedule, not just "enough to hold it," which affects both structural performance and warranty coverage.
- Sealant used where it belongs — and left out where it doesn't — sealing the wrong joint can trap water inside a wall instead of letting it drain.
None of these show up as a visible defect at move-in. They show up two to five years later as a soft spot in the sill, a stain below the window on an interior wall, or siding paint that keeps failing in one spot. Getting them right the first time is far cheaper than opening a wall to fix them later.
Choosing a Window Package Suited to This Exposure
We don't push one brand or one frame material for every job — the right choice depends on the home's exposure, budget, and how much upkeep the owner wants to take on. What we do insist on is matching the product to the climate honestly, including the trade-offs.
| Frame Material | Moisture Tolerance | Maintenance | Typical Cost Tier |
|---|---|---|---|
| Vinyl | Good — won't rot or corrode; seams and welds need to be quality-checked | Low — occasional cleaning | Lower |
| Fiberglass | Very good — dimensionally stable in wet/dry cycling common in this climate | Low | Mid to upper |
| Aluminum-clad wood | Good exterior protection, but relies entirely on unbroken cladding and flashing to keep the wood core dry | Moderate — exterior is low-maintenance, but any cladding breach needs prompt attention | Upper |
| Bare wood | Poor in sustained damp exposure without diligent upkeep | High — regular refinishing needed | Varies |
For a lot of Custer builds, vinyl or fiberglass units make the most sense — they hold up to sustained marine dampness with the least ongoing owner effort. Clad-wood units can still be the right call for a specific look or performance goal, but we'll walk through what that commitment means for long-term upkeep before you decide, rather than let a showroom sample make the decision for you.
Our New-Construction Window Process
- Rough opening check — verify the opening is square, plumb, and sized correctly before a window ever arrives on site.
- Sill pan installation — sloped and sealed to shed any intrusion back outside the wall plane.
- Set and shim — window set level and plumb, shimmed at the manufacturer's specified points to avoid frame distortion.
- Fasten per schedule — nailing fin or frame fastened per manufacturer spec, which also protects the product warranty.
- Flashing integration — housewrap and flashing tape lapped in proper shingle order around the flange, with head flashing installed last.
- Sealant where it belongs — perimeter sealed on the exterior face while leaving the correct drainage path open, per the product's installation instructions.
- Siding and trim tie-in — casing, drip caps, and siding courses run to keep water moving down and away from every joint.
- Final check — visual and, where warranted, water-testing before the wall is closed up behind insulation.
Where We See New Builds Go Wrong in This Area
- Flashing tape run in the wrong order, so water is directed behind the housewrap instead of over it.
- Sill pans skipped entirely because the window "looked fine" going in.
- Sealant used as the only water barrier instead of as a backup to proper flashing — it fails first, especially with this area's sustained damp exposure.
- Trim and siding installed by a separate crew that doesn't coordinate drainage paths with the window install, leaving a gap where two trades assumed the other handled it.
- Fasteners not rated for the exposure, leading to corrosion staining down the face of the siding within a few years.
Windows and Siding Are One Water Management System
As a siding contractor, we don't treat window installation as a separate trade that happens before we show up. The window flashing, the housewrap, the weather-resistive barrier, and the siding drainage plane all have to work as one continuous system — water has to keep moving down and out at every layer, from the top of the wall to the bottom. When the same crew handles both the window integration and the siding, there's no seam where one contractor's work stops making assumptions about the other's. That coordination is where a lot of the leaks we get called to fix later actually originated — not in the window itself, but in the handoff between trades.
A Simple Maintenance Checklist for New Homeowners
A correctly installed new-construction window needs very little upkeep, but a few habits go a long way in this climate:
- Rinse pollen, salt residue, and grime off exterior frames a couple times a year, especially on elevations facing prevailing weather.
- Check exterior caulk joints annually for cracking or separation — small gaps are a five-minute fix before a storm season, not after.
- Keep gutters and downspouts clear so roof runoff isn't dumping extra water down the wall above a window.
- Watch shaded, north-facing sills for moss or algae buildup and clean it off before it holds moisture against the frame.
- Operate locks and hardware a few times a year so seals stay compressed evenly and don't take a set in one position.
Why It Matters That We Already Work in Custer
Window flashing details that work in a dry inland climate aren't automatically the right details for a Whatcom County build taking wind-driven rain off the Strait and months of damp, low-sun weather. A crew that already works new construction around Ferndale and Custer isn't guessing at how much exposure a given elevation gets or which details actually hold up through a full wet season here — we've seen what fails and what doesn't on homes just like the one you're building. That local track record is worth more than a manufacturer's brochure when it comes to how the windows in your new home will actually perform ten winters from now.
If you're planning a new build in Custer and want windows installed right the first time, we're happy to walk the plans with you and give you a straightforward, no-pressure estimate — just fill out the form below.