 Ferndale Siding
 Birch Bay's Shoreline Climate Is Tougher on Siding Than It Looks
Birch Bay sits right on the water in Whatcom County, and that waterfront setting is exactly what makes siding decisions here different from a typical inland Ferndale property. Homes facing the bay take on salt-laden air, near-constant driving rain off the Salish Sea through the fall and winter, and a moss season that can run eight months or longer in the shaded, damp corners of a lot. None of that is dramatic on any given day, but it is relentless, and siding that isn't built for it shows the wear within a handful of years — not decades.
This page covers James Hardie fiber cement siding specifically for Birch Bay homes: what the local conditions demand, what a correct installation actually involves, and how our process is built around the realities of working this particular stretch of coastline.
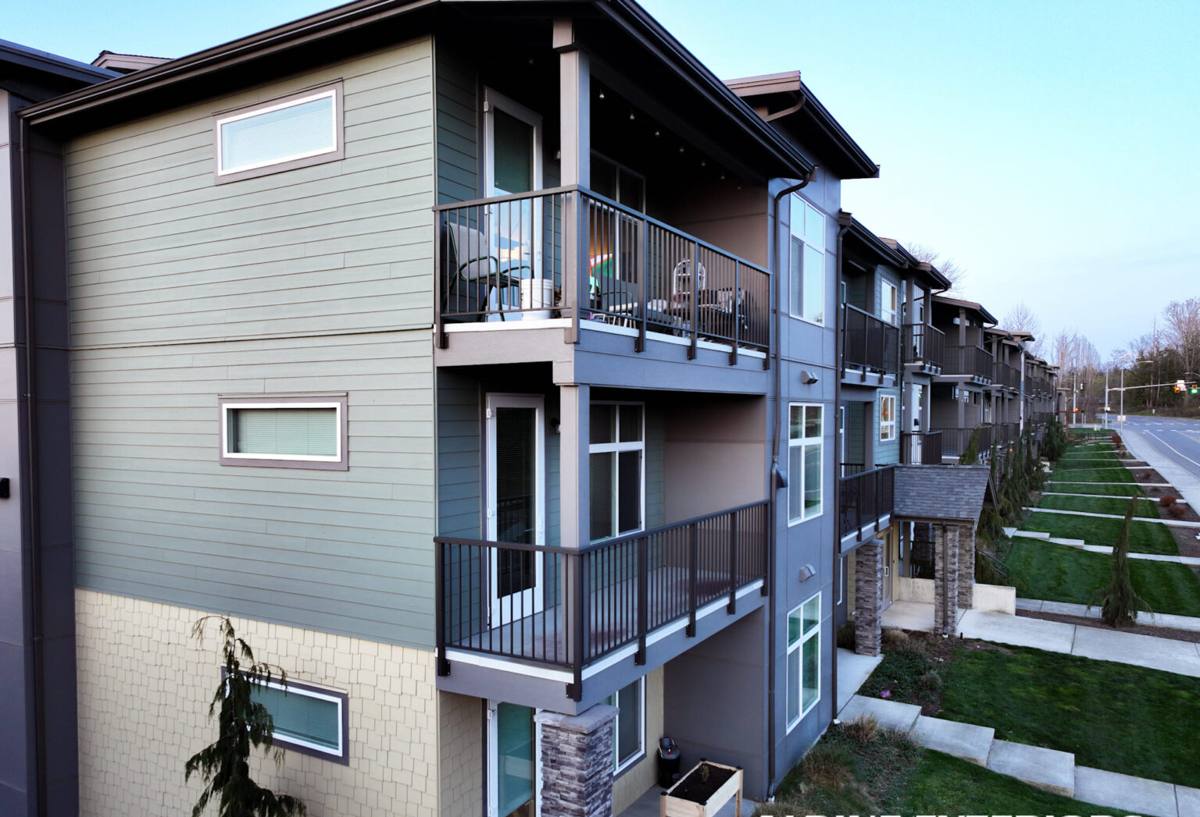
What Salt Air, Rain, and Moss Actually Do to a House
Salt Air
Airborne salt from the bay settles on every exterior surface, not just the siding closest to the water. Over time it accelerates corrosion of exposed fasteners, degrades cheap coatings, and works into any gap in the exterior finish. Materials that rely on a thin surface coating for protection are the most vulnerable, because once that coating chalks or cracks, the salt has a direct path to whatever is underneath.
Driving Rain and Wind-Driven Moisture
Birch Bay's open exposure to the water means wind-driven rain isn't a once-a-year event — it's a regular winter pattern. Rain doesn't just fall straight down here; it gets pushed sideways into wall assemblies, seams, and trim joints. Siding and installation details that aren't specifically designed to shed water at an angle will eventually let moisture behind the cladding, and that's where real damage starts: sheathing rot, mold, and framing decay that isn't visible until it's expensive.
Moss and Algae
Between the marine moisture and the shaded north- and east-facing walls common on waterfront and treed lots, moss and algae growth is a near-constant maintenance issue in this part of Whatcom County. Porous or organic siding materials give moss something to grip and feed on. Non-porous, factory-finished materials resist that growth far better and are much easier to keep clean.
Why We Install Only James Hardie Fiber Cement
We don't install vinyl, LP SmartSide, Cemplank, Allura, or wood siding — not because those products have no merit anywhere, but because we've made James Hardie our standard for the conditions homes face in this area. Hardie fiber cement is non-combustible, dimensionally stable, and manufactured with a factory ColorPlus finish that's engineered to resist fading, chalking, and moisture intrusion far better than field-applied paint on wood or the thin cap-stock finishes used on some engineered products. For a bay-front or near-bay home taking on salt air and driving rain year-round, that combination of moisture resistance and finish durability is the deciding factor.
James Hardie also builds region-specific product formulations — its HZ5 line is engineered for climates with more moisture exposure, which fits the Pacific Northwest and especially waterfront communities like Birch Bay better than a one-size-fits-all product.
The James Hardie Product Lines That Fit This Area
Not every Hardie product is the right fit for every home, and part of our job is matching the product line to the house and its exposure. Here's how the main options compare for a Birch Bay property:
| Product | Best Use | Why It Fits Birch Bay |
|---|---|---|
| HardiePlank Lap Siding | Primary wall cladding | Most common choice; wide profile options shed wind-driven rain well when installed with correct laps and flashing |
| HardiePanel Vertical Siding | Accent walls, modern designs | Clean look for contemporary waterfront homes; requires precise seam and joint detailing to stay watertight |
| HardieShingle Siding | Gable accents, cottage-style homes | Textured look without the moisture absorption and moss-holding surface of real wood shingles |
| HardieTrim Boards | Corners, window and door trim, fascia | Matches the plank's moisture and finish performance instead of mixing in a weaker trim material |
Color selection matters here too. ColorPlus factory finishes are baked on and backed by their own finish warranty, which holds up better against salt exposure than field-painted siding — an important consideration for any home within reach of bay air.
What a Correct Installation Actually Involves
James Hardie siding performs the way it's designed to only when it's installed to the manufacturer's specifications. In a wind- and rain-exposed area like Birch Bay, skipping or shortcutting these steps is where most premature siding failures come from — not the material itself.
Water-Resistive Barrier and Flashing
A continuous, properly lapped weather-resistive barrier goes on before any siding. Every window, door, and penetration gets flashed so water is directed out and away from the wall assembly, not behind it. This is the single most important layer for a home taking regular wind-driven rain.
Clearances and Fastening
Hardie specifies minimum clearances from grade, roof lines, decks, and other siding terminations — usually a minimum of 1 to 2 inches depending on the detail — so water has somewhere to go instead of wicking into the bottom edge of the board. Fasteners need to be corrosion-resistant and driven correctly; in a salt-air environment, using the wrong fastener is an invitation for staining and premature corrosion at every nail head.
Joints, Caulking, and Touch-Up
Butt joints, seams, and cut ends need to be properly sealed or flashed, and any field cuts must be primed and painted to match the factory finish. Left bare, a cut edge is a direct entry point for moisture — one of the most common mistakes we see when correcting other contractors' work in this area.
Our Process for a Birch Bay Siding Project
- On-site assessment — we look at your home's specific exposure: which walls face the water and prevailing wind, where moss and moisture problems already exist, and the condition of the sheathing underneath the current siding.
- Product and color selection — we walk through which Hardie lines and ColorPlus colors fit the home's design and exposure level.
- Tear-off and prep — old siding comes off, sheathing is inspected and repaired as needed, and a new weather-resistive barrier and flashing system goes in before a single piece of Hardie board is installed.
- Installation to spec — correct clearances, fastening, and joint treatment, following James Hardie's published installation instructions for our climate zone.
- Final walkthrough — we inspect the finished work with you, check every trim line and joint, and go over basic care so the siding performs the way it's designed to for the long run.
What Drives Cost on a Birch Bay Hardie Project
Every home is different, but these are the main factors that move the price of a James Hardie project up or down in this area:
| Factor | Why It Matters |
|---|---|
| Extent of moisture damage under existing siding | Rot repair and sheathing replacement add labor before new siding can go on |
| Product line mix | Combining lap siding, panel accents, shingle accents, and trim costs more than a single uniform product |
| Home size and wall complexity | More corners, gables, and dormers mean more cutting, flashing, and trim work |
| Color and finish choice | Factory ColorPlus finishes carry a different cost structure than primed boards finished on site |
| Access and site conditions | Waterfront lots, slopes, and limited staging space affect labor time |
We give straightforward, itemized estimates so you can see exactly what's driving the number — no vague lump-sum pricing.
Living With Hardie Siding in a Salt Air, High-Moss Environment
Correctly installed James Hardie siding is genuinely low-maintenance, but "low-maintenance" doesn't mean "no maintenance" — especially this close to the water. A simple seasonal routine keeps it performing and looking right for the long term:
- Rinse the exterior with a garden hose once or twice a year to clear salt residue and airborne grime, focusing on walls facing the water
- Keep gutters clear so water isn't overflowing and running down the siding face
- Trim back vegetation and tree cover where practical to reduce shaded, damp areas that encourage moss
- Check caulked joints and trim annually, especially after a hard winter, and have any cracked or failed caulk addressed promptly
- Avoid pressure washing directly at joints and edges — a soft wash is enough and won't force water behind the boards
- Watch for any soft spots, staining, or bubbling paint, which can signal a flashing or moisture issue worth having inspected
Why Local Experience on This Coastline Matters
A crew that has worked bay-front and near-bay homes in this part of Whatcom County knows where the moisture problems actually show up — which walls take the worst of the wind-driven rain, where moss builds fastest, and which flashing details get skipped by installers who don't work this coastline regularly. That local pattern recognition is what separates a siding job that looks good on install day from one that's still performing correctly ten years later. We also know the practical realities of Birch Bay properties — tighter lots, waterfront access considerations, and seasonal weather windows — and plan projects around them instead of learning on the job.
If you're weighing your options for siding on a Birch Bay home, we're happy to take a look and walk you through what we see, with no pressure to commit. Use the form below to request a free estimate.